SAML with Microsoft Azure
How to set up Single Sign-On with Azure AD as a SAML Identity Provider
![]()
1. Log in to your Azure Portal and navigate to Azure Active Directory.
2. Click on the Enterprise Applications menu item.
3. Click on the plus icon to create a New application.
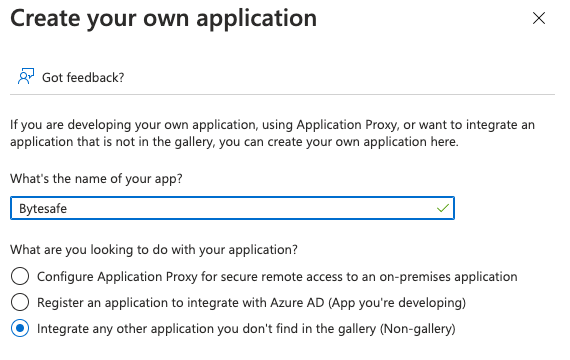
4. Enter a descriptive name for the SAML integration, e.g. “Bytesafe” and select Non-Gallery option.
5. Configure 1. Assign users and groups to include your users that are have access to Bytesafe.
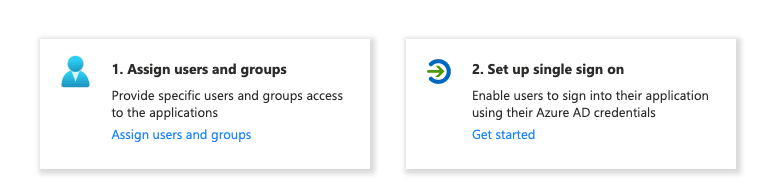
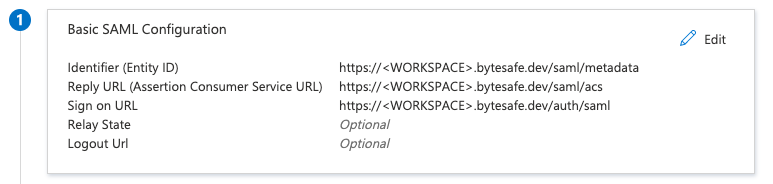
6. Configure 2. Set up single sign on for your Bytesafe workspace name. Replace <WORKSPACE> with your workspace name as shown on the URL when logged in.
7. Download XML Metadata by clicking on Federation Metadata XML.
Important: The Metadata from Microsoft needs to be uploaded to Bytesafe to enable trust for your IdP.
8. Proceed to Enable SAML in Bytesafe for the last steps.